
I used to run a few small blogs on basic Bluehost shared account. They ran perfectly fine for several years but the limitations of running several blogs on such a basic service started to become apparent when growth was necessary. Specifically, the need to add Let’s Encrypt SSL certificates to these sites.
As some of you may know, Laravel Forge (a server managament SaaS) features a very simple way to deploy free Let’s Encrypt certificates on your projects so I migrated my WordPress sites from Bluehost to Laravel Forge. Here’s how:
1. Create a full backup of your site
The first thing you’ll want to do is create a full backup of your WordPress site. I recommend using the Duplicator plugin since it’ll be the easiest to restore on the destination server. When you run the backup, make sure to download both files that were generated: the installer.php file and the zipped archive.
Pro tip: Make sure to use the directory filtering feature to avoid copying other backups or cache files and reduce the size of the archive.
2. Set up the destination server and upload the files
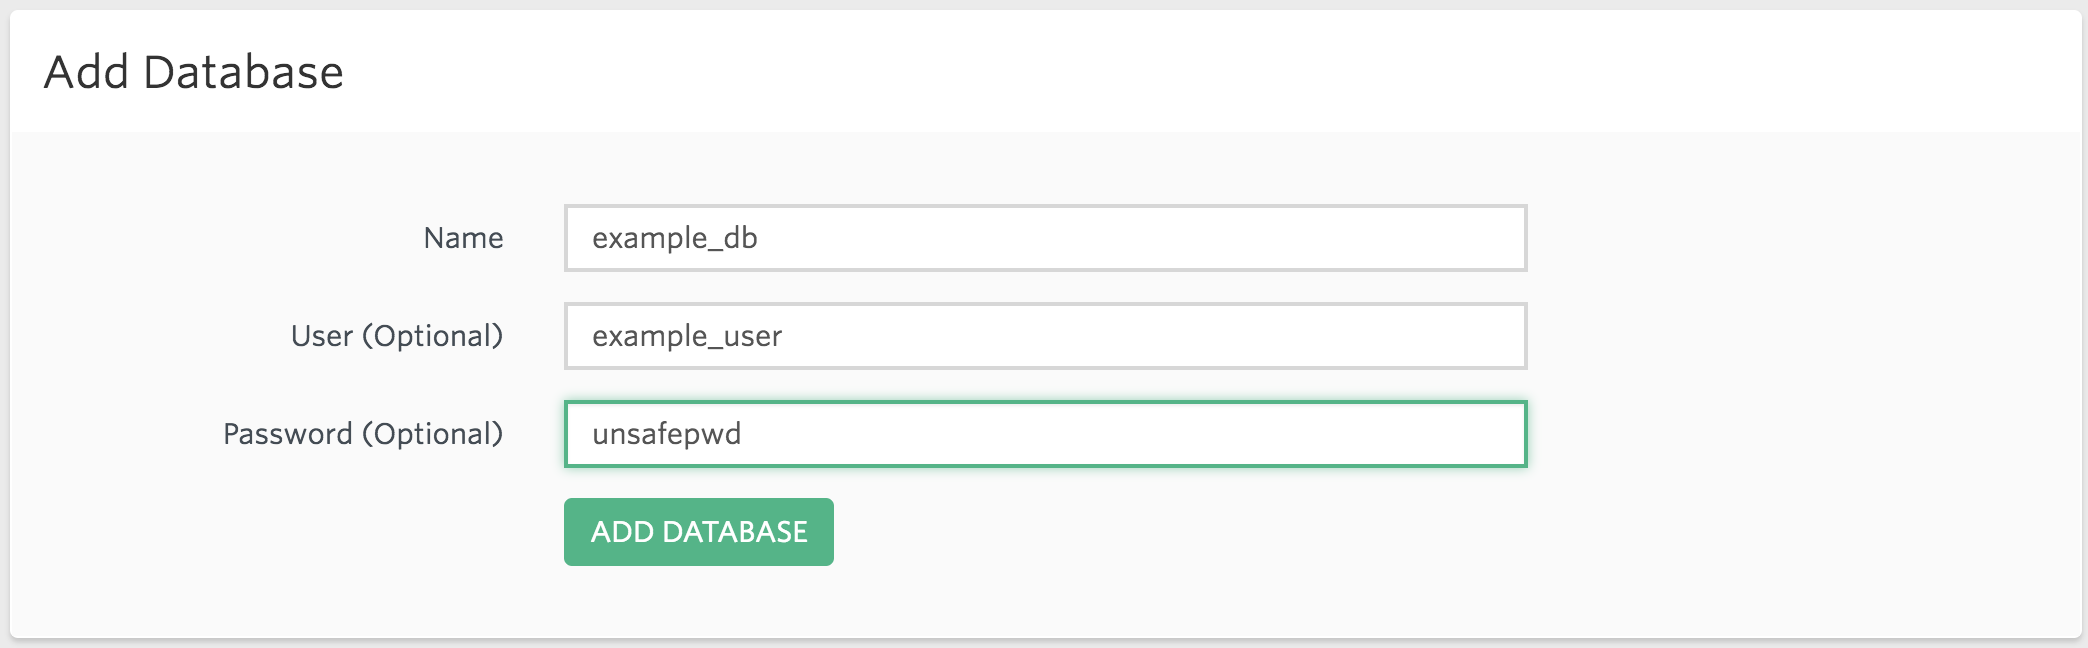
The second part involves setting up the destination location within your Laravel Forge server. You can spin up a new server or use an existing one. Once you select your server, head into the MySQL section and create a new database. We’ll create a new database and user for our sample site: example.com.
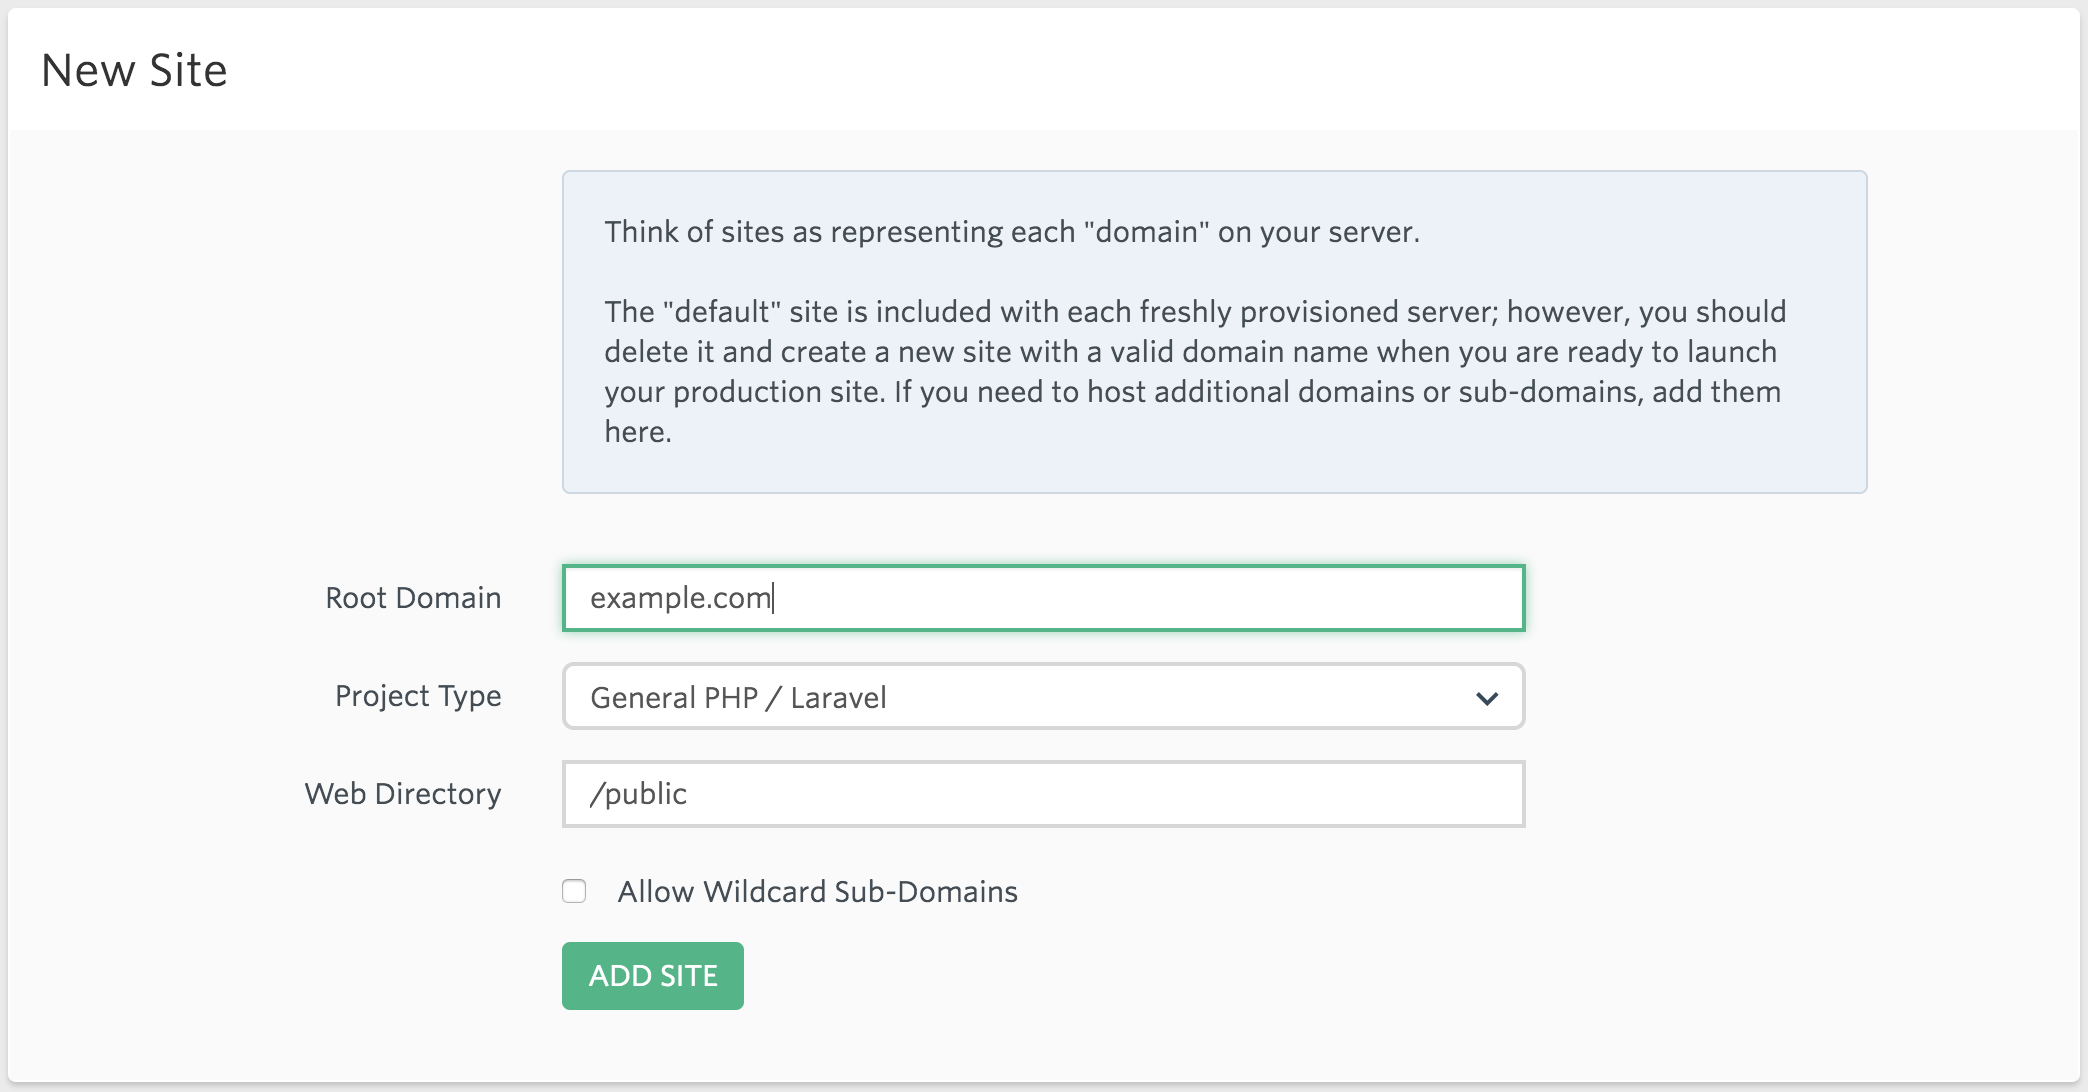
Now go back into the Sites section and create a site for your domain, selecting General PHP as the Project Type.
Once that’s done, use your preferred FTP client to upload both backup files from Step 1 to the /public directory for your site. The backup files should be the only files inside that directory.
Pro tip: Sometimes things can go wrong during the process of restoring your site. In order to save time, make a copy of both backup files in the base directory of your site. This means that at this point you should have the backup files in /example.com and /example.com/public.
3. Restore the website
This is the fun part. You’re going to have to trick your computer into thinking that example.com is now at your new server’s IP address. This makes the restore process much easier and avoids having to reconfigure the site once it’s installed. To do this, you’ll have to edit the hosts file on your computer.
- On Mac or Linux
- Open a terminal window.
- Type in: sudo nano /private/etc/hosts
- Add a new line at the bottom indicating your Forge server’s IP address, followed by your domain name (i.e.: 10.134.54.87 example.com)
- Save
- On Windows
- Go to Start and type in Notepad
- Right click on the Notepad app and select Run as Administrator
- Open the following file in Notepad: C:\Windows\System32\Drivers\etc\hosts (You may need to select the All Files option to see it)
- Add a new line at the bottom indicating your Forge server’s IP address, followed by your domain name (i.e.: 10.134.54.87 example.com)
- Save
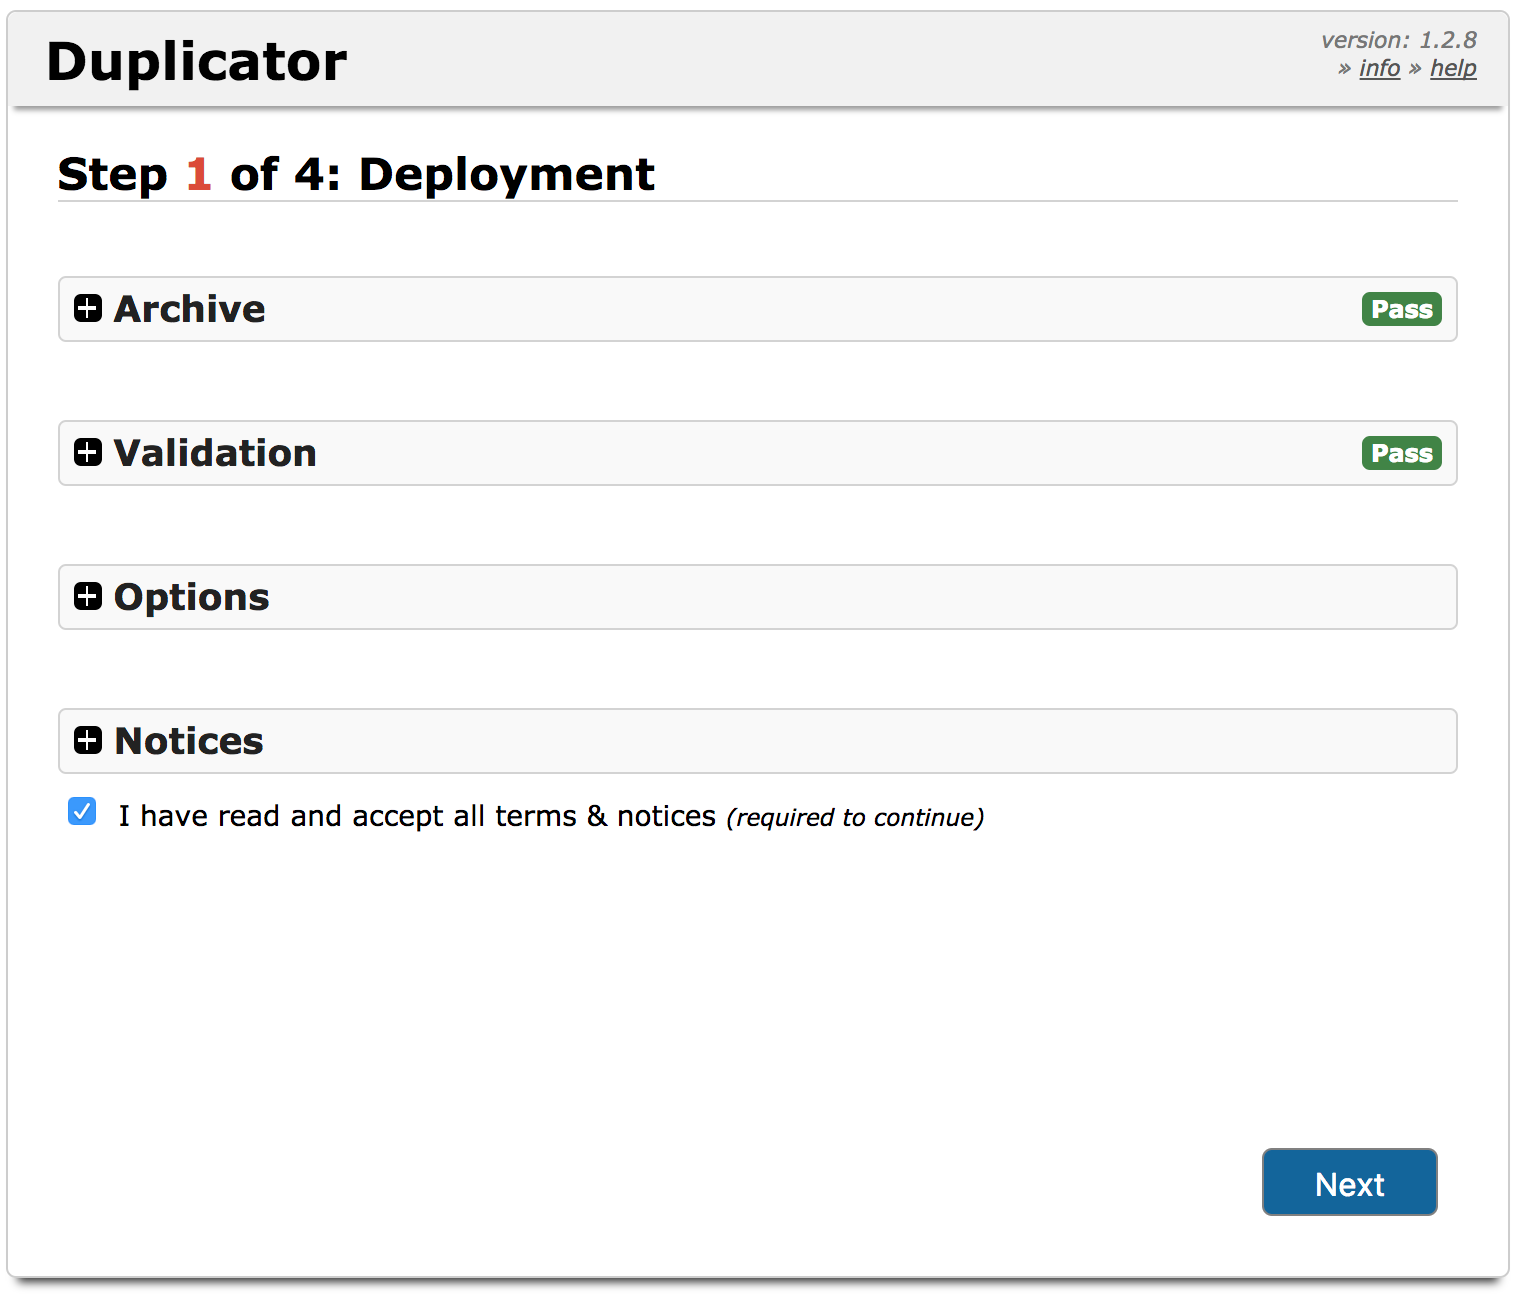
Open a new browser window (ideally in Private/Incognito mode) and head to example.com/installer.php. You’ll see the first step of the restoration process indicating that the initial validation has passed. Click Next.
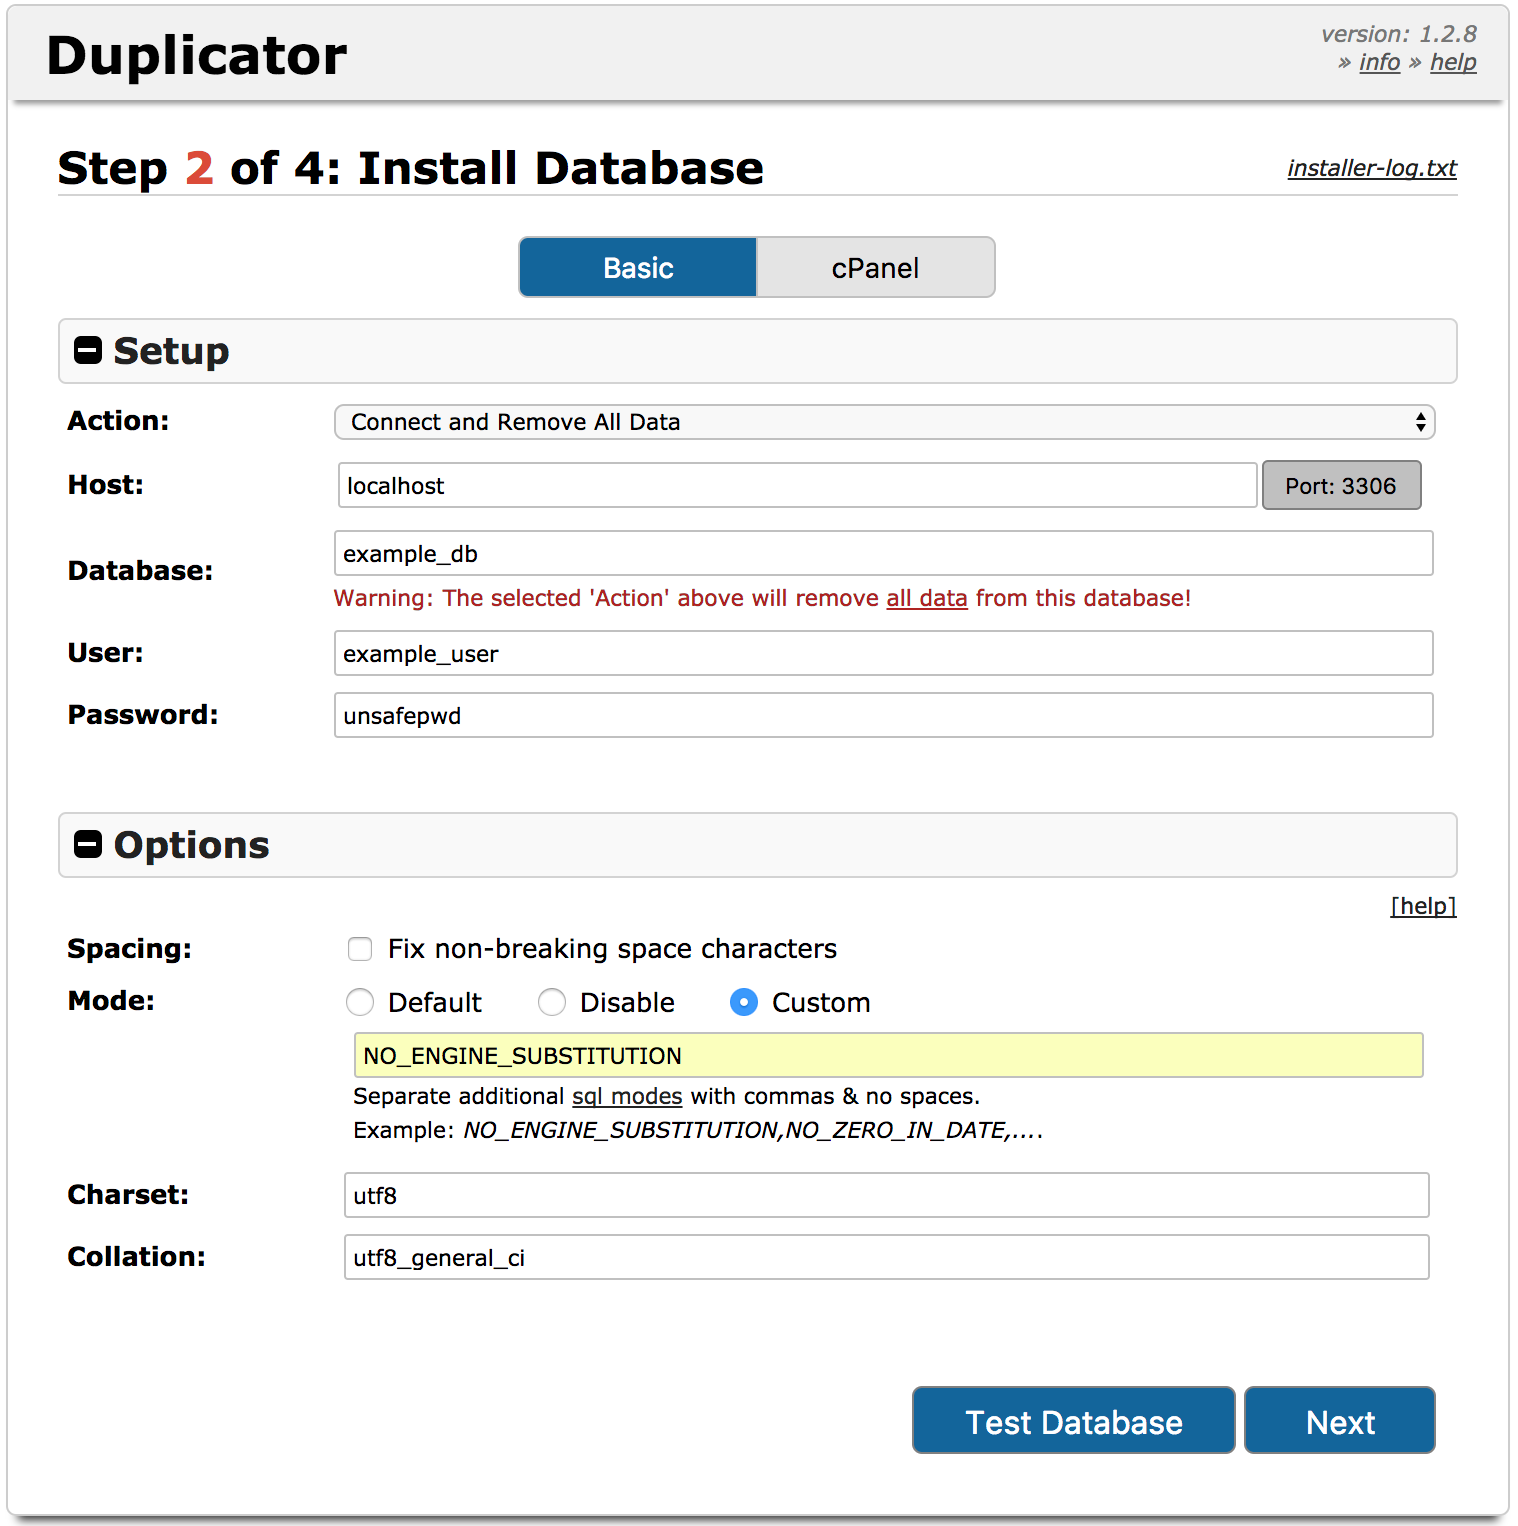
In the second step of the installation process, enter the details for the database and user you created in Step 2. On this same page, open the Options section, select the Custom Mode option, and enter NO_ENGINE_SUBSTITUTION in the field. Then click Next.
In the third step, it’s recommended to open the Options section and unselect a few plugins from being activated. This is because some WP plugins may cause conflicts when they try to connect to your site but find that the domain name isn’t directing them to the right place. Here is a list of a few plugins that may cause some issues if left activated during the installation:
- Akismet
- Jetpack
- Shareaholic
- W3 Total Cache
- Wordfence
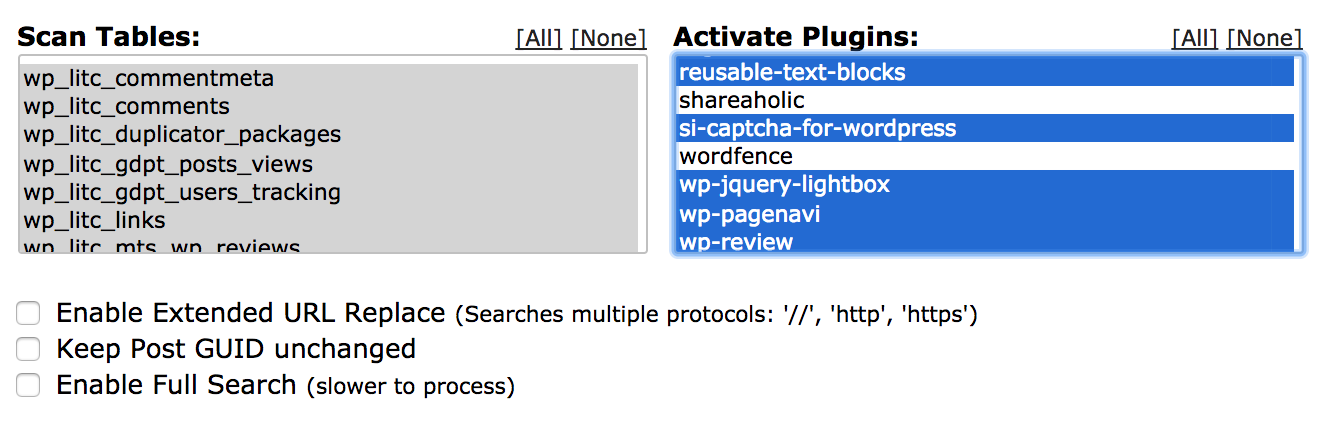
Click Next to extract the files and once that’s done, log in to your site to finish the installation cleanup process and to make sure the site installed correctly.
4. Update your domain’s DNS settings
When the installation process finishes and you’re able to log in and browse your site normally, then it’s time to point your actual domain name to the new server. Do this by updating the DNS settings for your domain with your domain name registrar (GoDaddy, Namecheap, etc.). This configuration varies from site to site, especially if you also have separate subdomains, but it’s likely that you’ll simply have to update your domain’s main A Record (@) to point to your Forge server’s IP address.
At this point you can also go back into your hosts file and remove the line you inserted in Step 3.
DNS propagation can take up to 48 hours to complete depending on your registrar’s nameservers, but the changes are typically reflected in just a few minutes. A good indicator of this is if you’re able to secure an SSL certificate for your site.
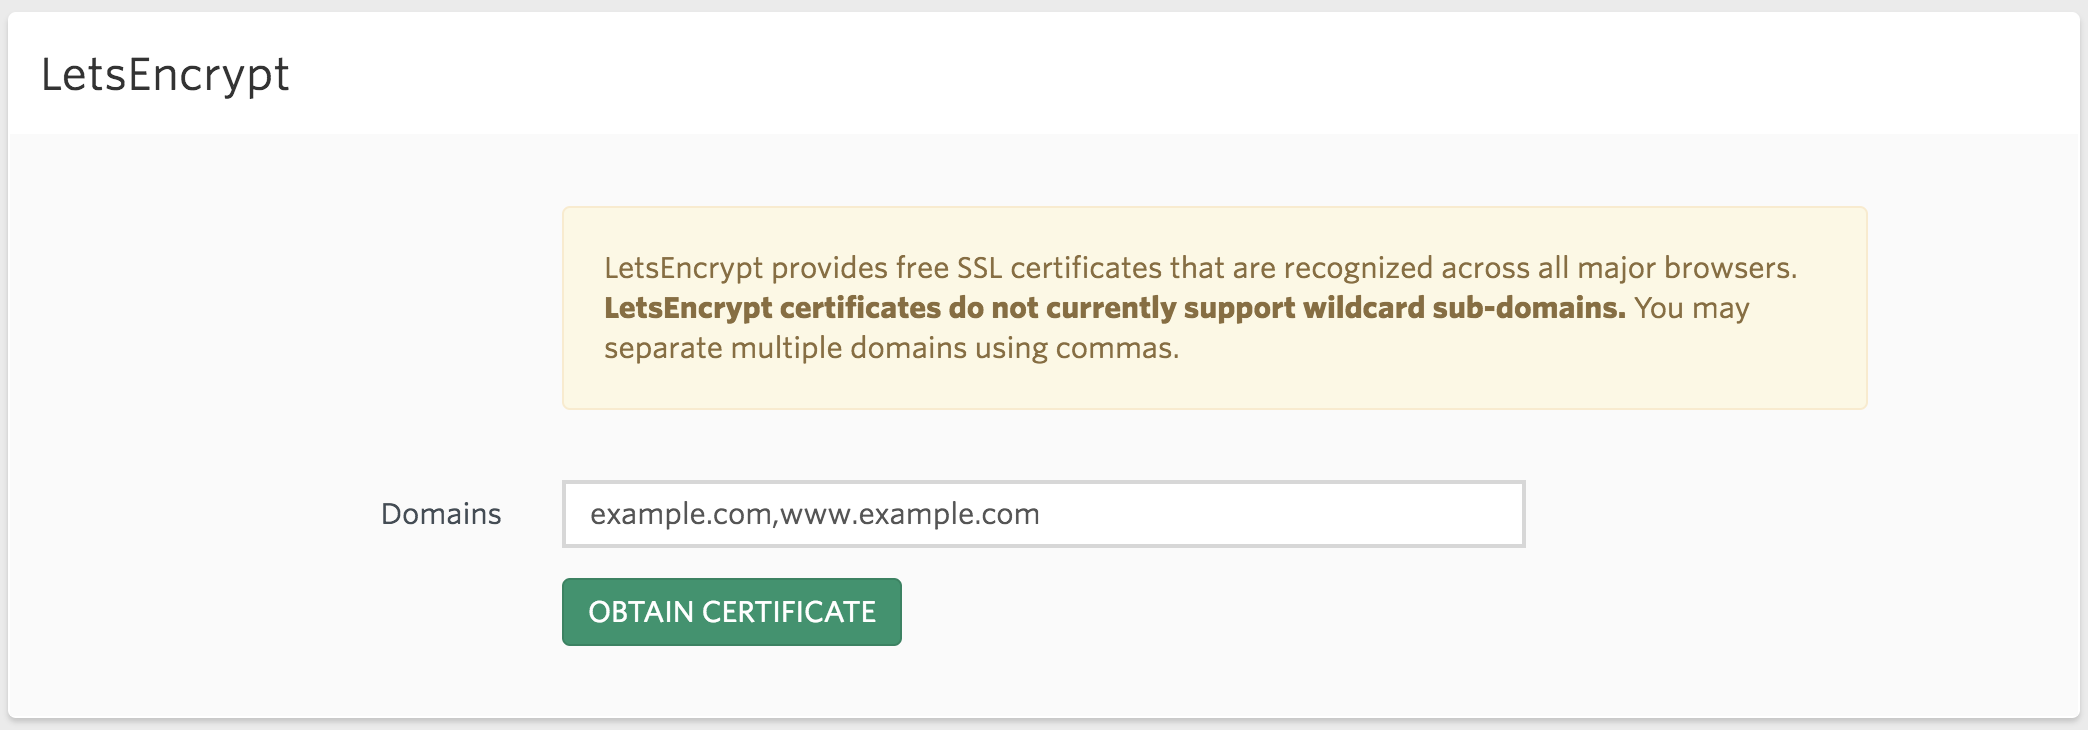
Head into your site’s settings on Forge and go to the SSL section. Click on Let’s Encrypt and then on Obtain Certificate. If the certificate is installed correctly, then it’s a good indicator that visitors are now seeing the version of the site on the new server. Make sure to click the Activate button so that your site shows up as Secure. If you aren’t able to get a certificate, check your domain’s DNS settings and try again in a couple of hours.
5. Final cleanup
Congratulations! Your site is now up and secured! Consider that little green lock next to your URL your reward.
As a final task, you’ll want to make sure that all the content on your site is being served via HTTPS. To do this easily, just install the SSL Insecure Content Fixer and within its settings, make sure that at least the Content level is set.
You’ll also want to re-activate the plugins that were unselected during the installation process. It should be safe to boot them all up but be sure to do so one at a time. If you’ve determined that everything is running smoothly, then you can also navigate to your site’s root directory and delete those extra copies of the backup archives if you followed Step 2’s Pro Tip.
If you have any questions, let me know in the comments or send me an email and I’ll gladly help out.